Product Description
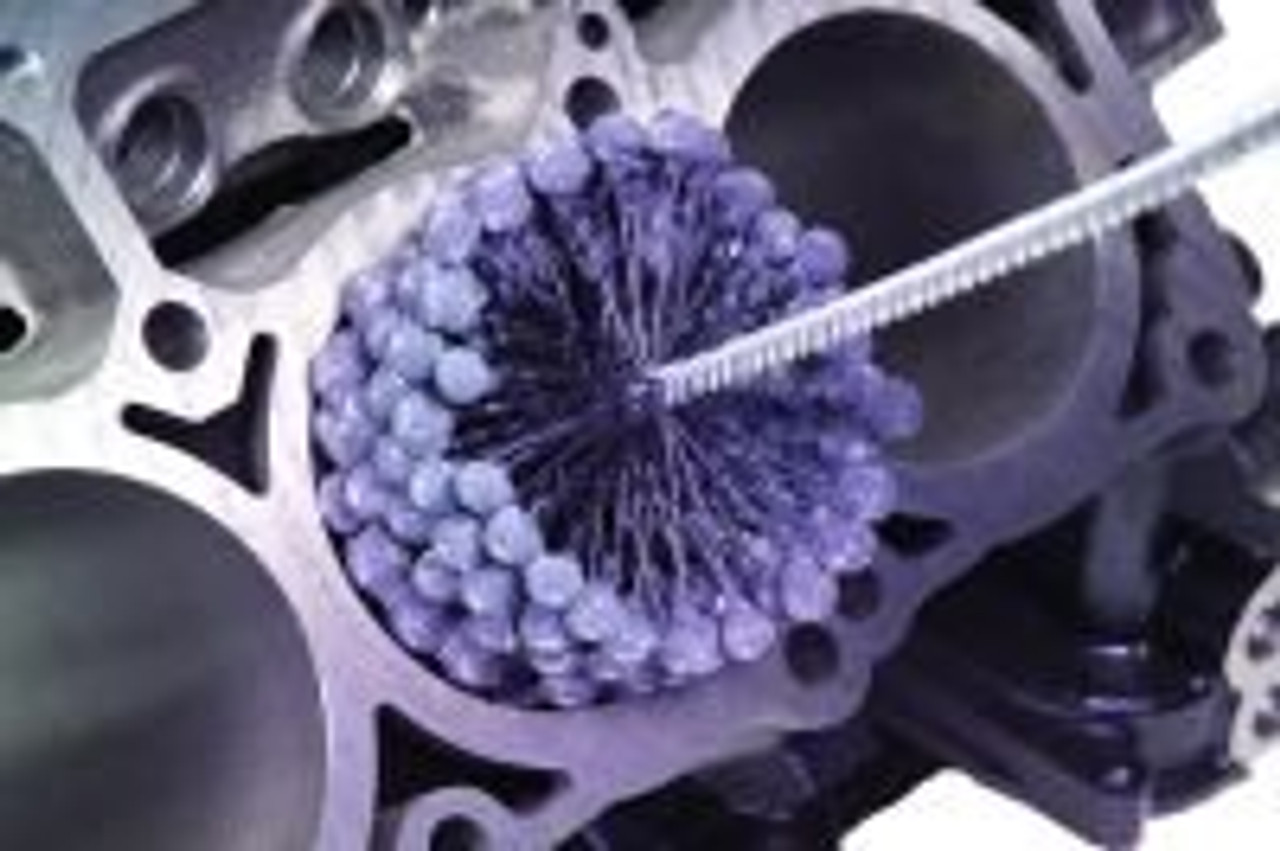
Flex-Hone 90-95mm (3 3/4")Cylinder Ball Hone 240 Grit (Silicon Carbide)
- This size fits Toyota
- 22R 22RE
- 3.4L 5VZ-FE
- 2.7L 3RZFE
- 2.4L 2RZ-FE
- Many More
What GRIT should I order?
Hone grit is one of those topics that will vary vastly from OEM manufacturer, ring designer to professional engine builder and will depend on how bad the cylinder wear is and whether a deglaze will do the job . If you have a poor condition bore with rust or deep grooves you will need to use a 120 grit hone to remove the rust and remove the deep grooves. Then follow up with the appropriate grit depending on ring application. For a basic deglaze to refresh the engine just use the grit depending on ring type. EngineHones.com has built several engine mules (our guys race too!) to investigate the grit question with on-track results. The table below which was derived from our engines, ring manufactures and technical literature. Our best seller to commercial engine rebuilders and power-sports shops is the 240 grit hone. Our guidelines are as follows:
Iron Cylinder Ring Type:
OEM Iron rings: 180 or 240 grit
Chrome rings: 240 or 320 grit
Moly Rings: 320 or 400 grit
Plasma Rings: 320 or 400 grit
not sure ring type: 240 grit
How do I refinish my bore
There are several steps in refinishing your cylinders in preparation for new rings. The first of course is to remove all bearings leaving a bare block. The metal from the honing or deglazing process with go everywhere. Note that the worst thing about honing is the block cleanup. You can never spend to much time cleaning your block. With the engine bare and cylinder ridged reamed (if necessary) place the Flex-Hone® (registered trademark of Brush Research Manufacturing) in a hand drill or drill press. Lubricate the cylinder with 10-30wt oil or Flex-Hone® hone oil (recommended). Spread the lubricant in the bore with a brush or your fingers. Make sure the cylinder is completely covered. For the first use of a new hone lubricate the Flex-hone and bore walls completely several times as the hone itself will absorb some of the oil. Future cylinder honing will not require as much oil as the first was with a new hone. Insert the lubricated hone with the drill rotating slowly while inserting in to the bore. With the hone in the lubricated bore, run the drill at 600-800 rpm with a vigorous motion up and down in the bore for 40-60 strokes. How vigorous a motion? basically as fast as you can move your arms. You are seeking a 45 degree crosshatch in the bore. If you are not achieving a good crosshatch (see tech section below) then you will need to slow the drill speed down to achieve a MUST HAVE 45 degree crosshatch. Run the drill for 40-60 rotations and wipe the bore with a clean cloth. Inspect the bore. If a dull grey is visible (it will stand out from the freshly honed surface) continue until the bore is completely resurfaced. While honing continue to squirt oil in to bore as a medium to wash away the cylinder material. Once the bore dull grey color is not visible STOP honing. The most important step is the cylinder wall cleanup. Use a nylon cylinder wash brush or a clean cloth soaked in warm soapy water and run up and down the bore. Continue this process while flushing the bore with warm soapy water. The goal is to remove every microscopic particle that is embedded in the cylinder wall grooves. After extensive scrubbing take a clean white lint free cloth with warm water and wipe up and down the cylinder bore with force. Inspect the cloth, if you see grey on the cloth, and most likely you will, you need to go back and clean the bore again. Repeat until you see no grey on the white cloth. Once each and every bore is perfectly clean then coat each cylinder with oil to preserve until piston placement. Once again the bores must be clean or you just left lapping compound in your high dollar engine.
Achieving A Cylinder Crosshatch Pattern
Another misunderstood and highly discussed topic is the subject of cross hatch angle. The resulting cross hath angle produced by the Flex-Hone or a three spring hone (or a rigid hone for that matter) is strictly a function of stroke rate versus RPM. Most OEMs and ring manufacturers state the angle of the scratches in the crosshatch pattern should be about 27 - 45 degrees with 45 degrees the optimum. This angle is referenced from the top of the deck. The crosshatch angle should be consistent throughout the cylinder walls. If the crosshatch angle is too steep the cylinder walls will not retain sufficient oil to aid in the rings seating process. The problem is that the rings will pump oil and rings will rotate too quickly leading to accelerated ring and ring groove wear. To shallow of a angle can cause a chattering affect as the ring passes over the valley preventing the ring from receiving proper lubrication again leading to excessive ring wear, excessive ring break in time and the possibility of engine smoking with no ring seating. To achieve the desired 45 degree crosshatch run the drill at 600-800 rpm and vigorously run the drill up and down in the bore. This vigorous movement of your arm is exhausting but you only need to run the tool in the bore for 10-15 seconds. Then inspect the cylinder surface. If you see a dull grey surface that indicates the hone was ineffective in that area thus continue to run the hone until the complete bore looks exhibits a fresh cut with a cross hatch pattern.
<imgsrc="http: site.enginehones.com="" stroke_rate_rpm_crosshatch.jpg"="">
Will it remove too much material?
No. The Flex-Hone® tool is a surface finishing tool, not a material removal tool. We are reducing the rough peaks of a surfaces micro-structure and typically we only remove a small amount of material. Typical 30-40 strokes to achieve the cross hatch will remove just under 0.0001" of material.


